

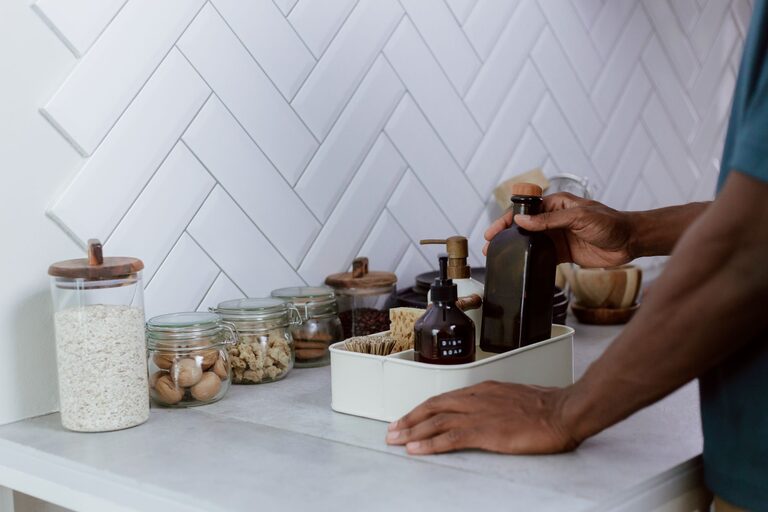
A clear kitchen counter can make the whole room feel calmer, cleaner, and easier to use. It also gives you more space for preparing meals and reduces the time spent moving items from one spot to another.
The goal is not to remove everything from your counters. A well-organized kitchen keeps frequently used items within reach while giving less-used tools a proper home. With a few simple changes, you can create counters that stay tidy without requiring constant effort.
Start With a Clean Slate
Before deciding where items should go, remove everything from the counters. Place items on a table, kitchen island, or clean section of the floor. This gives you a clear view of how much you have and helps you spot items that do not belong in the kitchen.
Clean the empty counters while they are clear. Wipe away crumbs, dust, and grease so you are starting with a fresh surface.
Next, sort the items into four groups:
– Use every day
– Use regularly but not daily
– Use occasionally
– Do not use or no longer need
Be honest about how often you use each item. A small appliance that has not been used in months may be taking up valuable space simply because it has always been there.
Keep Only Daily Essentials on the Counter
The easiest way to reduce visual clutter is to limit the number of items that remain out. Keep only the tools and appliances you use most days, such as:
– A coffee maker or electric kettle
– A toaster
– A knife block
– A cutting board
– A container for cooking utensils
– A fruit bowl
Even these essentials may not all need to stay visible. If you use a toaster only on weekends, for example, consider storing it in a cabinet and bringing it out when needed.
A useful rule is to ask whether an item earns its counter space. If it saves time every day, it may belong on the counter. If it is used only occasionally, it probably belongs somewhere else.
Give Every Item a Home
Counter clutter often happens when items do not have a clear storage location. When there is no designated home, it is easy to leave things wherever they were last used.
Choose a specific place for each kitchen item. Store baking supplies together, group cooking tools in one drawer, and keep food containers near their matching lids. The exact location matters less than having a consistent system.
If several people use the kitchen, make the storage plan easy to understand. Labels can help in deep cabinets, drawers, and pantry containers. A simple system is more likely to last than one that requires complicated steps.
Use Drawers and Cabinets More Effectively
Many kitchens have unused vertical space inside cabinets and drawers. Making better use of these areas can free up the counters without requiring a remodel.
Try these simple storage solutions:
– Add drawer dividers for utensils and small tools.
– Use a vertical rack for baking sheets and cutting boards.
– Install a shelf riser to create an extra level inside a cabinet.
– Add hooks to the inside of cabinet doors for measuring cups or towels.
– Use a lazy Susan for oils, spices, or other small bottles.
– Store pots and pans with stackable dividers or racks.
– Keep frequently used items at eye level.
Avoid filling every cabinet to its maximum capacity. Leave some open space so items can be removed and returned easily. Storage that is too crowded often leads to more items being left on the counter.
Create a Small Appliance Strategy
Small appliances are among the biggest sources of counter clutter. Blenders, mixers, air fryers, food processors, and slow cookers can quickly take over the kitchen.
Start by grouping appliances according to how often you use them. Daily appliances can stay nearby, while occasional appliances can be stored in a lower cabinet, pantry, or closet.
If an appliance is too heavy or awkward to move, consider giving it a permanent location. You might also use a rolling cart or a sturdy shelf to keep it accessible without placing it directly in the main work area.
Review your appliances from time to time. If two tools perform similar tasks, keep the one you use most often and consider donating the other if it is in good condition.
Make Use of Vertical Space
When counter space is limited, look up. Vertical storage can keep useful items close without spreading them across the work surface.
Depending on your kitchen layout, you might use:
– A wall-mounted rail for utensils
– Magnetic strips for suitable kitchen tools
– Floating shelves for attractive, lightweight items
– A pegboard for flexible storage
– Hooks for mugs or reusable shopping bags
– A narrow shelf for spices or cooking oils
Keep wall storage neat by limiting what you display. Too many items can make the kitchen look crowded even when the counters are clear. Choose storage that matches your kitchen style and place it where it will not interfere with cooking or cleaning.
Control Paper and Everyday Drop Zones
Mail, receipts, keys, reusable bags, and school papers can quickly turn a kitchen counter into a catchall. Create a small drop zone away from the main food preparation area.
A wall organizer, tray, or basket can hold items temporarily. Set a regular time to sort through it and move everything to its proper location.
You can also use a simple paper routine:
- Recycle unwanted mail immediately.
- Place important papers in one file or folder.
- Add appointments or reminders to a calendar.
- Return reusable bags and personal items to their storage areas.
A dedicated drop zone prevents these items from spreading across the kitchen while keeping them easy to find.
Keep Food Off the Counters When Possible
Food packaging can add a lot of visual clutter. Store pantry items in cabinets, drawers, or a pantry instead of leaving bags and boxes on the counter.
If you like to keep certain foods visible, use a small basket or tray to group them together. This creates a defined area and makes the items look more organized.
For produce, choose one attractive bowl or basket rather than several small containers. Keep only the amount you expect to use soon, and store the rest in the proper location.
Build a Five-Minute Reset Routine
A short daily reset is more effective than waiting for clutter to become overwhelming. At the end of the day, set a timer for five minutes and complete a few basic tasks:
– Return appliances and tools to their homes.
– Put away food and dishes.
– Recycle or file papers.
– Wipe the counters.
– Empty or organize the drop-zone basket.
Make this routine part of another habit, such as cleaning up after dinner. When the reset happens at the same time each day, it becomes easier to maintain.
Use the One-In, One-Out Rule
Kitchen storage can slowly fill up even after a successful decluttering session. To prevent this, use a one-in, one-out rule for certain categories.
When you buy a new mug, food container, or small appliance, consider removing an older item that serves the same purpose. This keeps the total number of belongings manageable and protects your available storage space.
The rule does not need to apply to everything. Use it for categories that tend to grow quickly or create the most counter clutter.
Make Your System Easy to Maintain
A clutter-free kitchen should support your daily life, not make it more difficult. Store items near the place where you use them, keep heavy tools at comfortable heights, and avoid systems that require too many steps.
Every few months, take a quick look at your counters and storage areas. Remove items that are no longer useful, adjust locations that do not work well, and simplify whenever possible.
The best kitchen organization system is one that you can repeat without much thought. By keeping only useful items visible, assigning everything a home, and using a quick daily reset, you can enjoy clean, open counters with less effort.